Introduction
Screen recording has become an essential tool in today’s digital world. Whether you are a student, teacher, content creator, or professional, knowing how to record your screen efficiently can make your work easier and more productive. From creating tutorials to saving important moments on your device, screen recording is incredibly useful.
However, many users often get confused about how to Turn In Screen Recording properly. They may not know where the feature is located, how to enable it, or how to use it effectively. This detailed guide will walk you through everything you need to know.
In this article, we will explore how to Turn In Screen Recording on different devices, including smartphones, tablets, and computers. You will also learn useful tips, common mistakes to avoid, and advanced techniques to improve your recordings.
What Is Screen Recording?
Screen recording is the process of capturing everything that appears on your device’s screen. It can include:
- App usage
- Video playback
- Gaming sessions
- Tutorials and demonstrations
- Voice narration (optional)
This feature is built into most modern devices, making it easy for anyone to use without installing additional software.
Why Screen Recording Is Important
Screen recording is not just for professionals. It has many everyday uses:
For Students
- Record online lectures
- Save educational tutorials
- Review lessons later
For Professionals
- Create training materials
- Demonstrate software usage
- Share presentations
For Content Creators
- Make video tutorials
- Record gameplay
- Create social media content
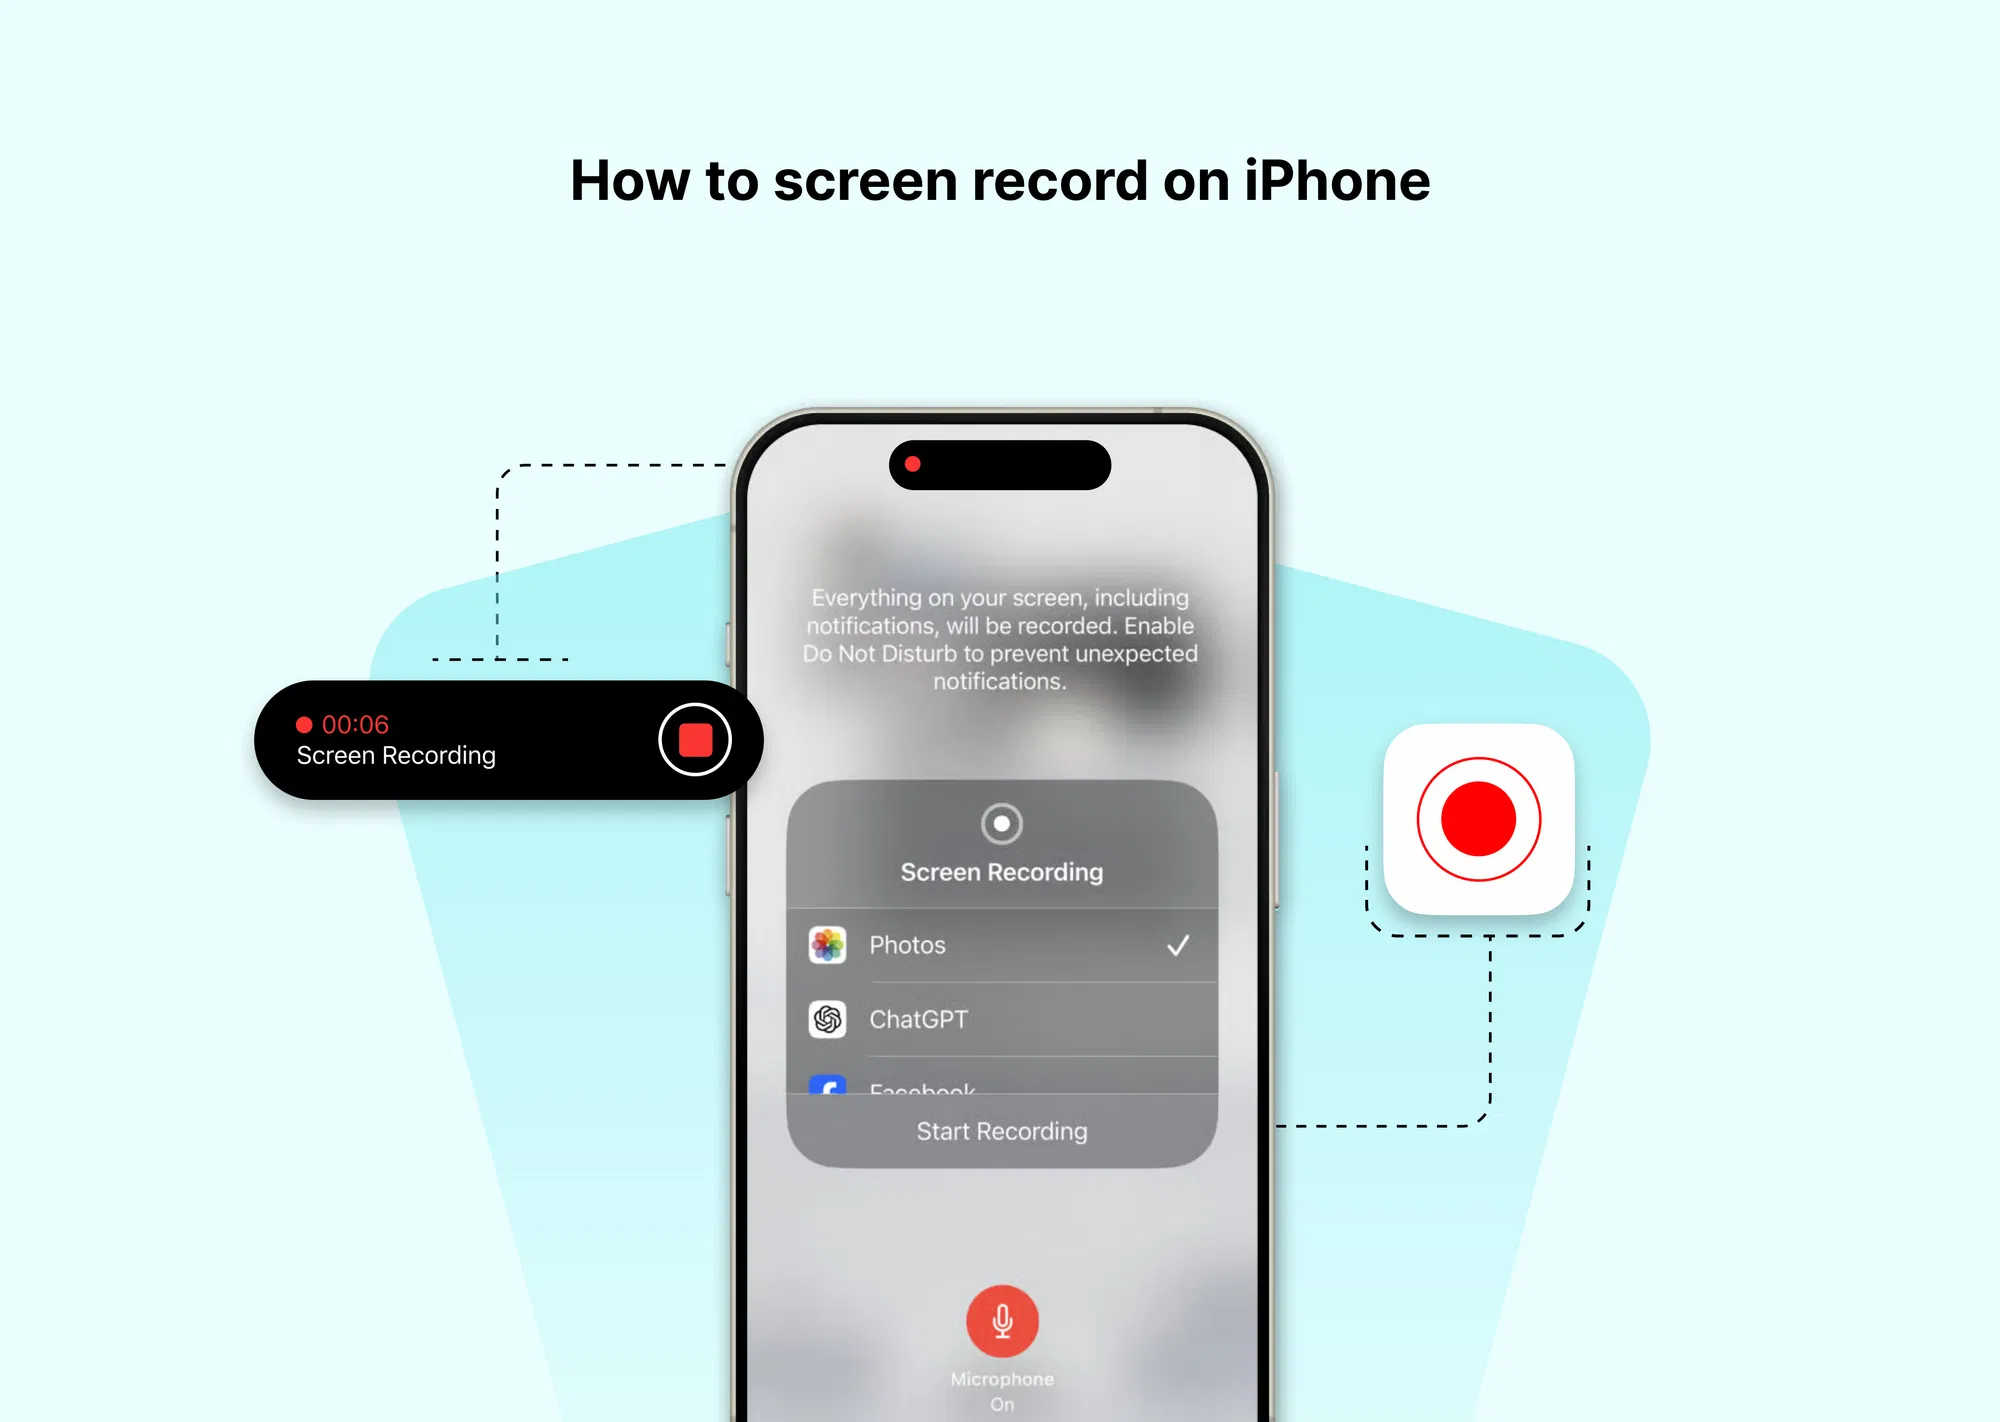
How To Turn In Screen Recording On iPhone
Apple devices make screen recording simple and user-friendly.
Enable Screen Recording
- Open Settings
- Tap Control Center
- Select Customize Controls
- Tap the + icon next to Screen Recording
Start Recording
- Swipe down from the top-right corner
- Tap the Screen Recording icon
- Wait for the 3-second countdown
Stop Recording
- Tap the red bar at the top
- Or open Control Center and tap the icon again
Your recording will automatically be saved in the Photos app.
How To Turn In Screen Recording On Android
Android devices may vary slightly depending on the brand, but the general process is similar.
Using Built-In Feature
- Swipe down from the top of the screen
- Look for Screen Recorder
- Tap the icon
- Choose settings like audio and quality
- Tap Start
Stop Recording
- Tap the stop button in the notification bar
How To Turn In Screen Recording On Windows
Windows computers also provide built-in tools.
Using Xbox Game Bar
- Press Windows + G
- Click the Capture option
- Select Start Recording
Stop Recording
- Click the stop button or press Windows + Alt + R
How To Turn In Screen Recording On Mac
Mac users can easily record their screens using built-in tools.
Using Screenshot Toolbar
- Press Command + Shift + 5
- Choose Record Entire Screen or Selected Portion
- Click Record
Stop Recording
- Click the stop button in the menu bar
Best Practices For Screen Recording
To get high-quality recordings, follow these tips: